
GDx — Basket Weaving
- DIY
- GD Team
The GDx experience is inspired by Bill Gates’ annual Think Week. Each GD employee is given a “Thinking Day” — a day away from work to research a subject they are curious about. This is a rare opportunity for self-care, achieved by exploring something new, without interruption.
This time around, our Creative Services Project Manager, Sydney Bilodeau tackled block printing!
I have always struggled to make art “for fun.” I love being creative and need a creative outlet, but am often held up by feeling the need to be perfect or getting frustrated with how overwhelming it can be to start from the beginning (I recently heard someone say, “Don’t let perfection be the enemy of good enough” and oh boy has that changed my brain chemistry).
I went back and forth on how to get myself off my computer and create with my hands, but each option felt too big. Watercolors felt too hard, picking up my guitar again felt too vast, oil painting too messy and too complicated—I needed a happy medium of knowing I could enjoy the process and the outcome while having wiggle room to make mistakes.
Enter printmaking. I had supplies sitting around from an impulse-curiosity-buy last year and hadn’t yet had the chance to use them. I started poking around for block printing classes online and found an Intro to Block Printmaking on Skillshare with Illustrator Liz Brimley. I felt like this was a great match and dove right in.
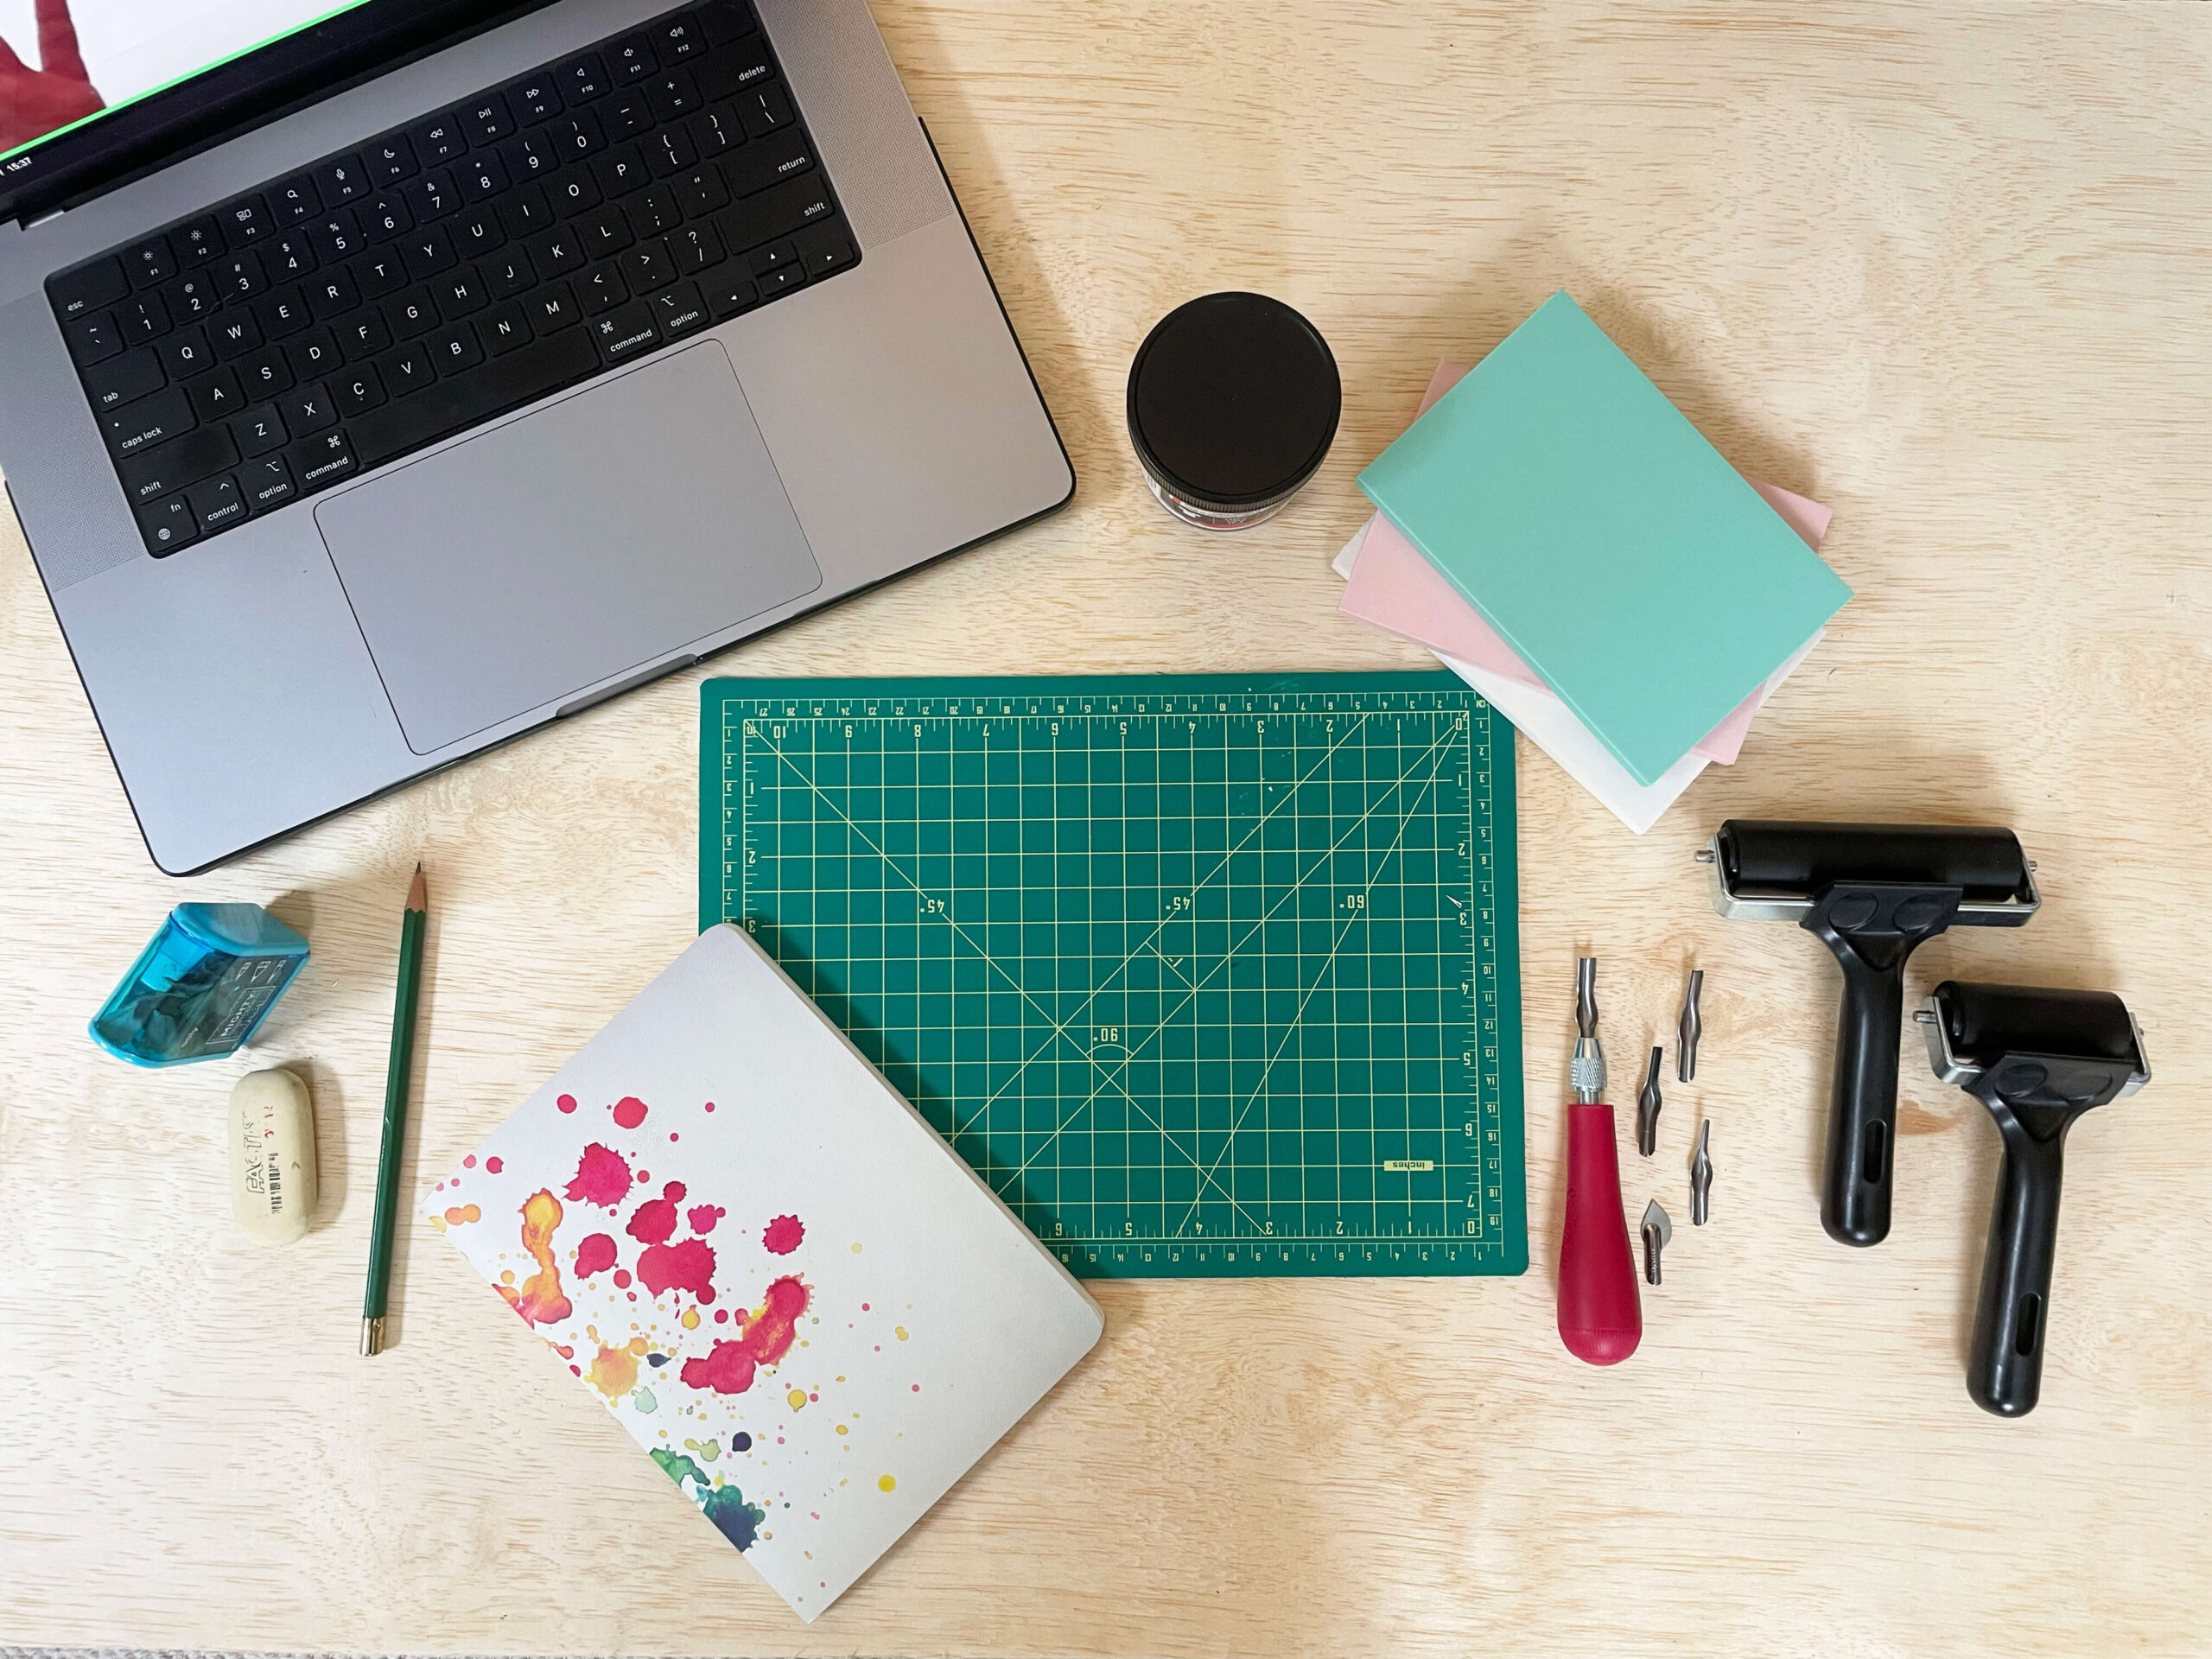
I gathered my materials and got my laptop set up for class!
Materials:
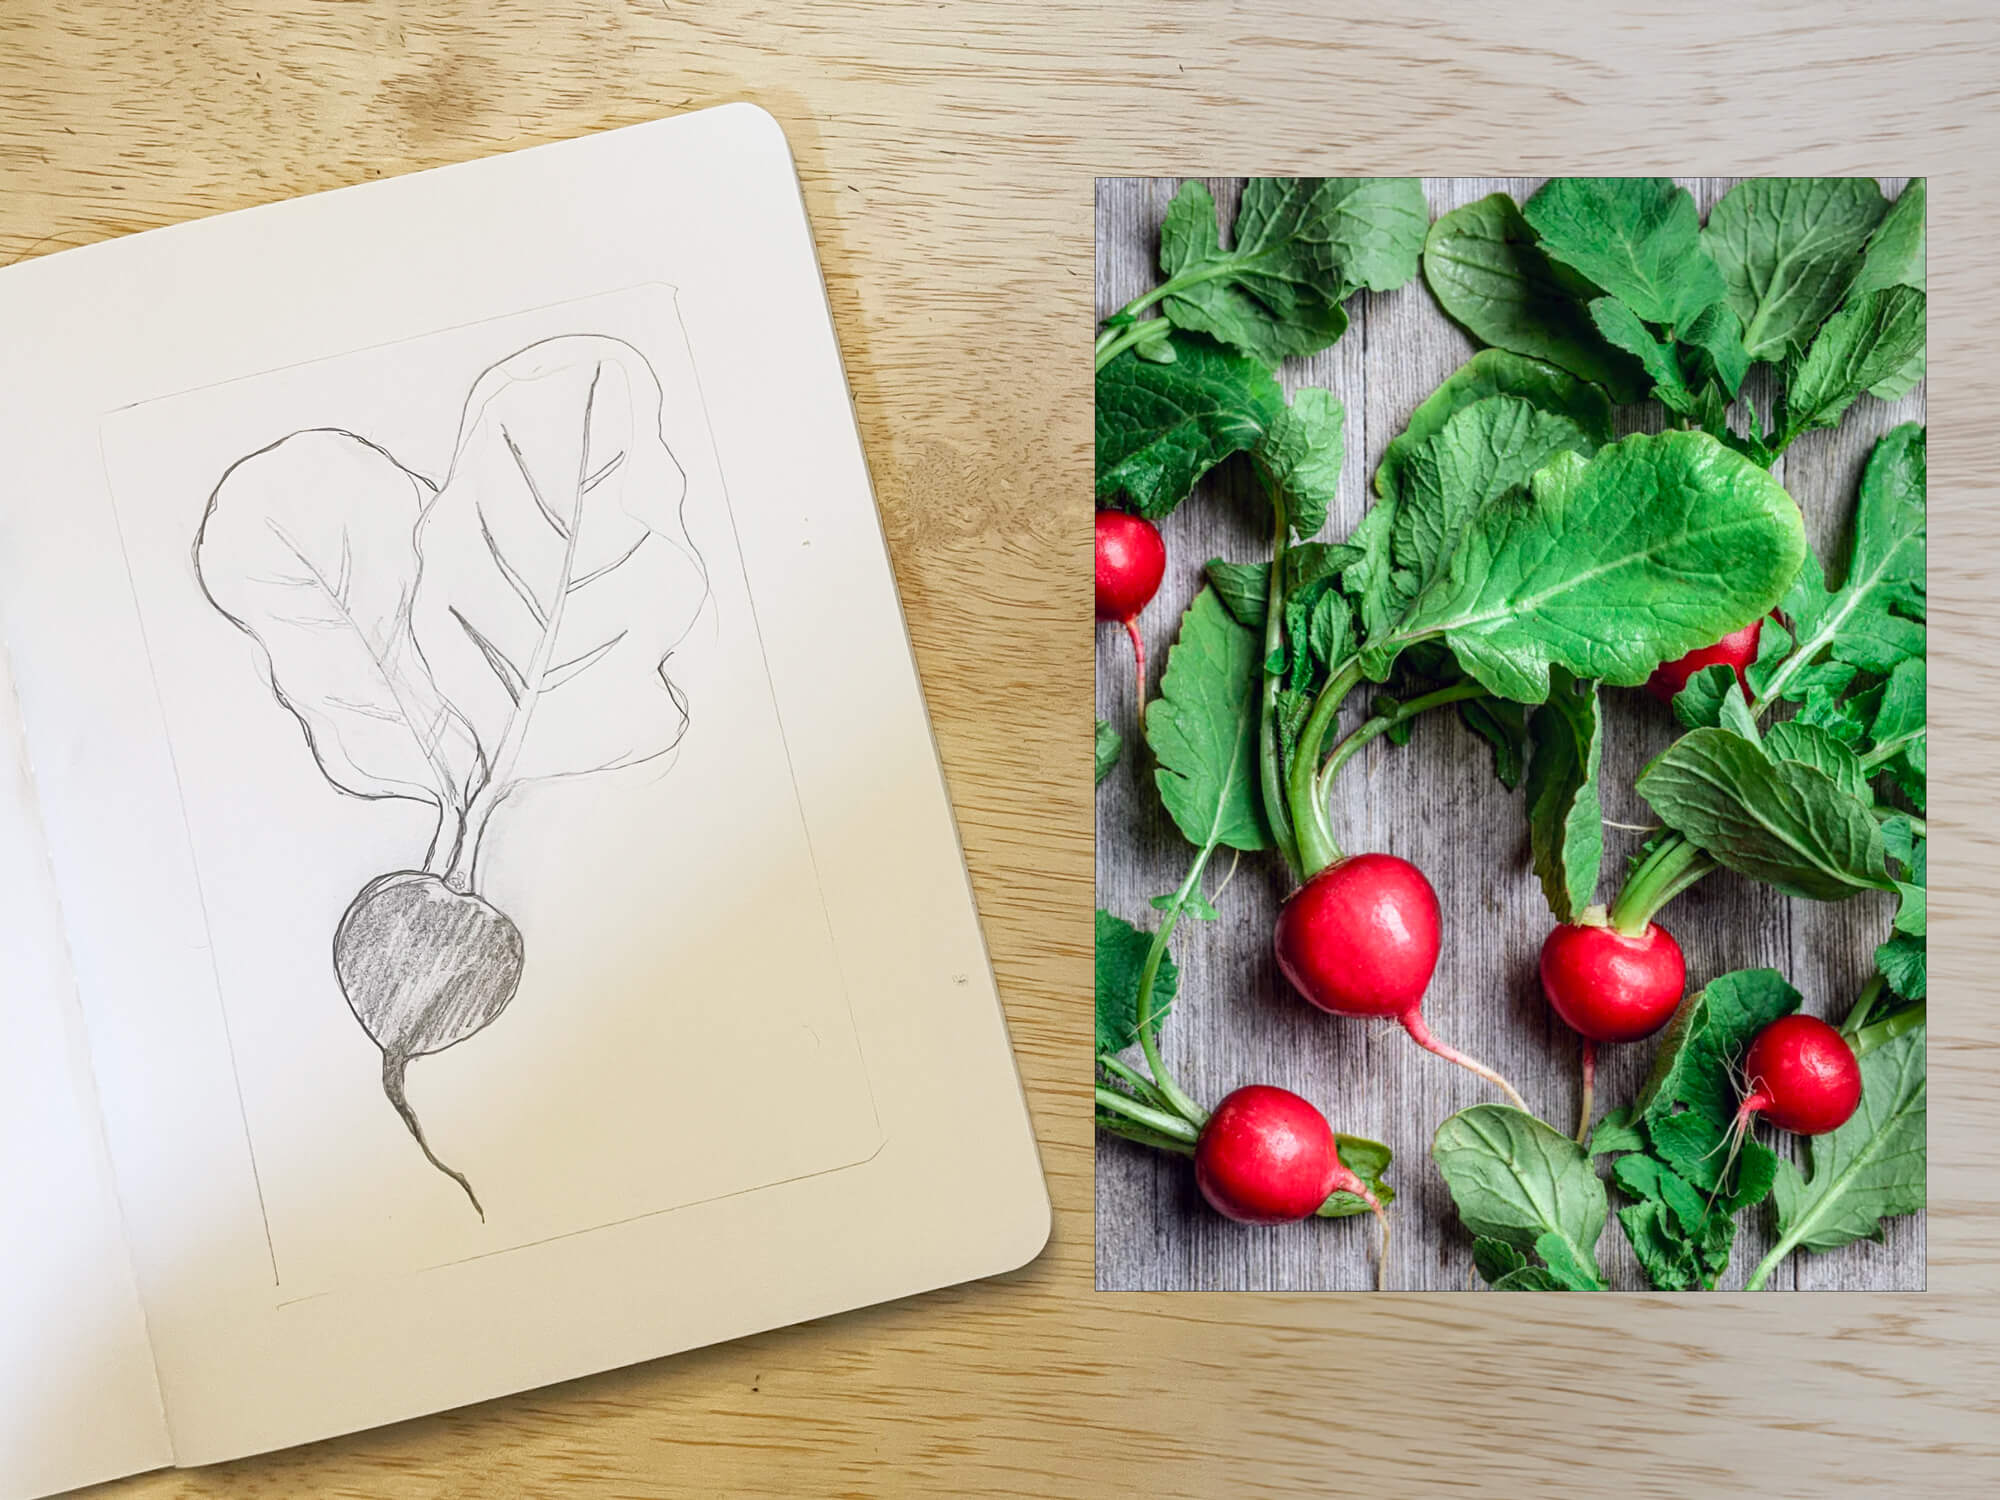
I wanted to start small, so I thought about what felt like something comfortable and within my skill set to draw and landed on some radishes! I looked through inspirational photos and chose one that felt good to me. I traced the size of my linoleum onto my sketchbook and drew a few iterations of design until I was happy with where I landed.
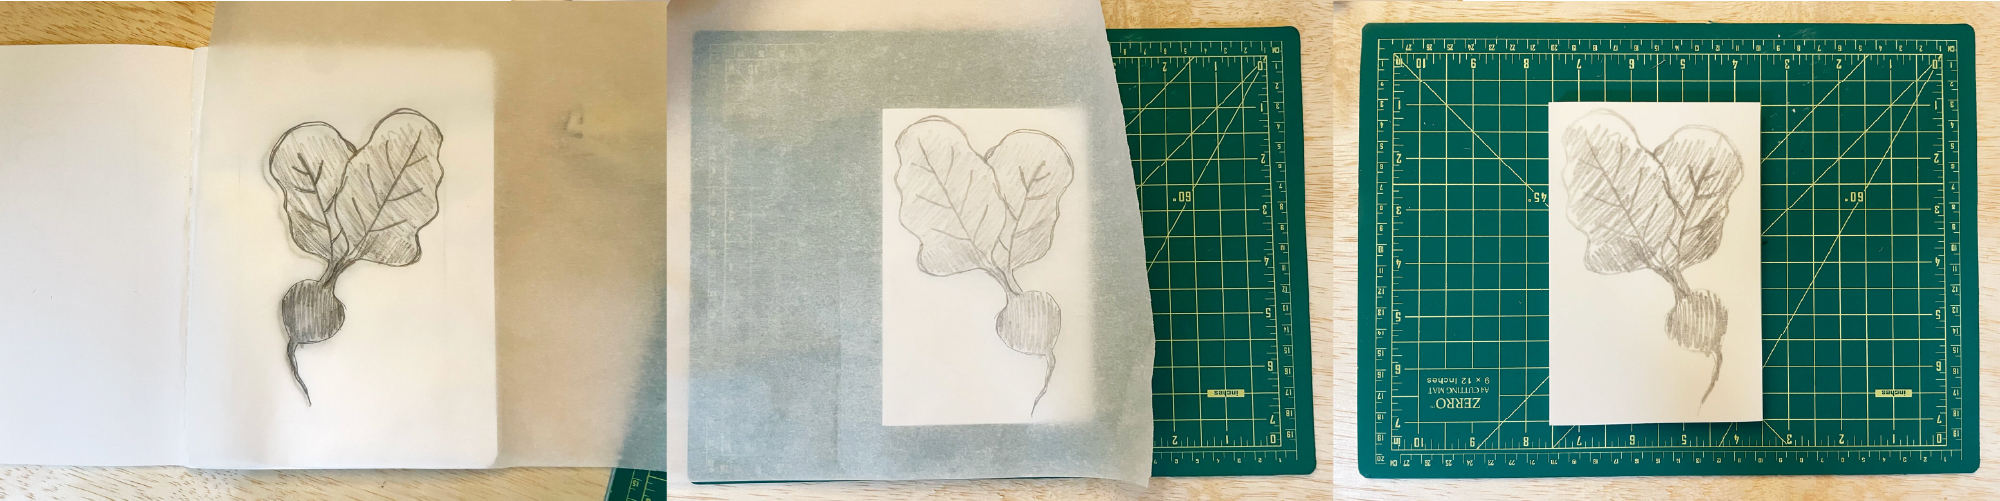
Left: Trace; Middle Transfer; Right: Touch up
I wanted my final print to be oriented the same way as my sketch, so I traced my sketch onto some parchment paper to transfer it to the block.
I then took my parchment paper and put it sketch-side down on my block. While holding it steady in one hand, I rubbed the back with my other palm to transfer the graphite.
After the sketch was transferred, I went over the outlines and shaded in the bits that I didn’t want to carve out.
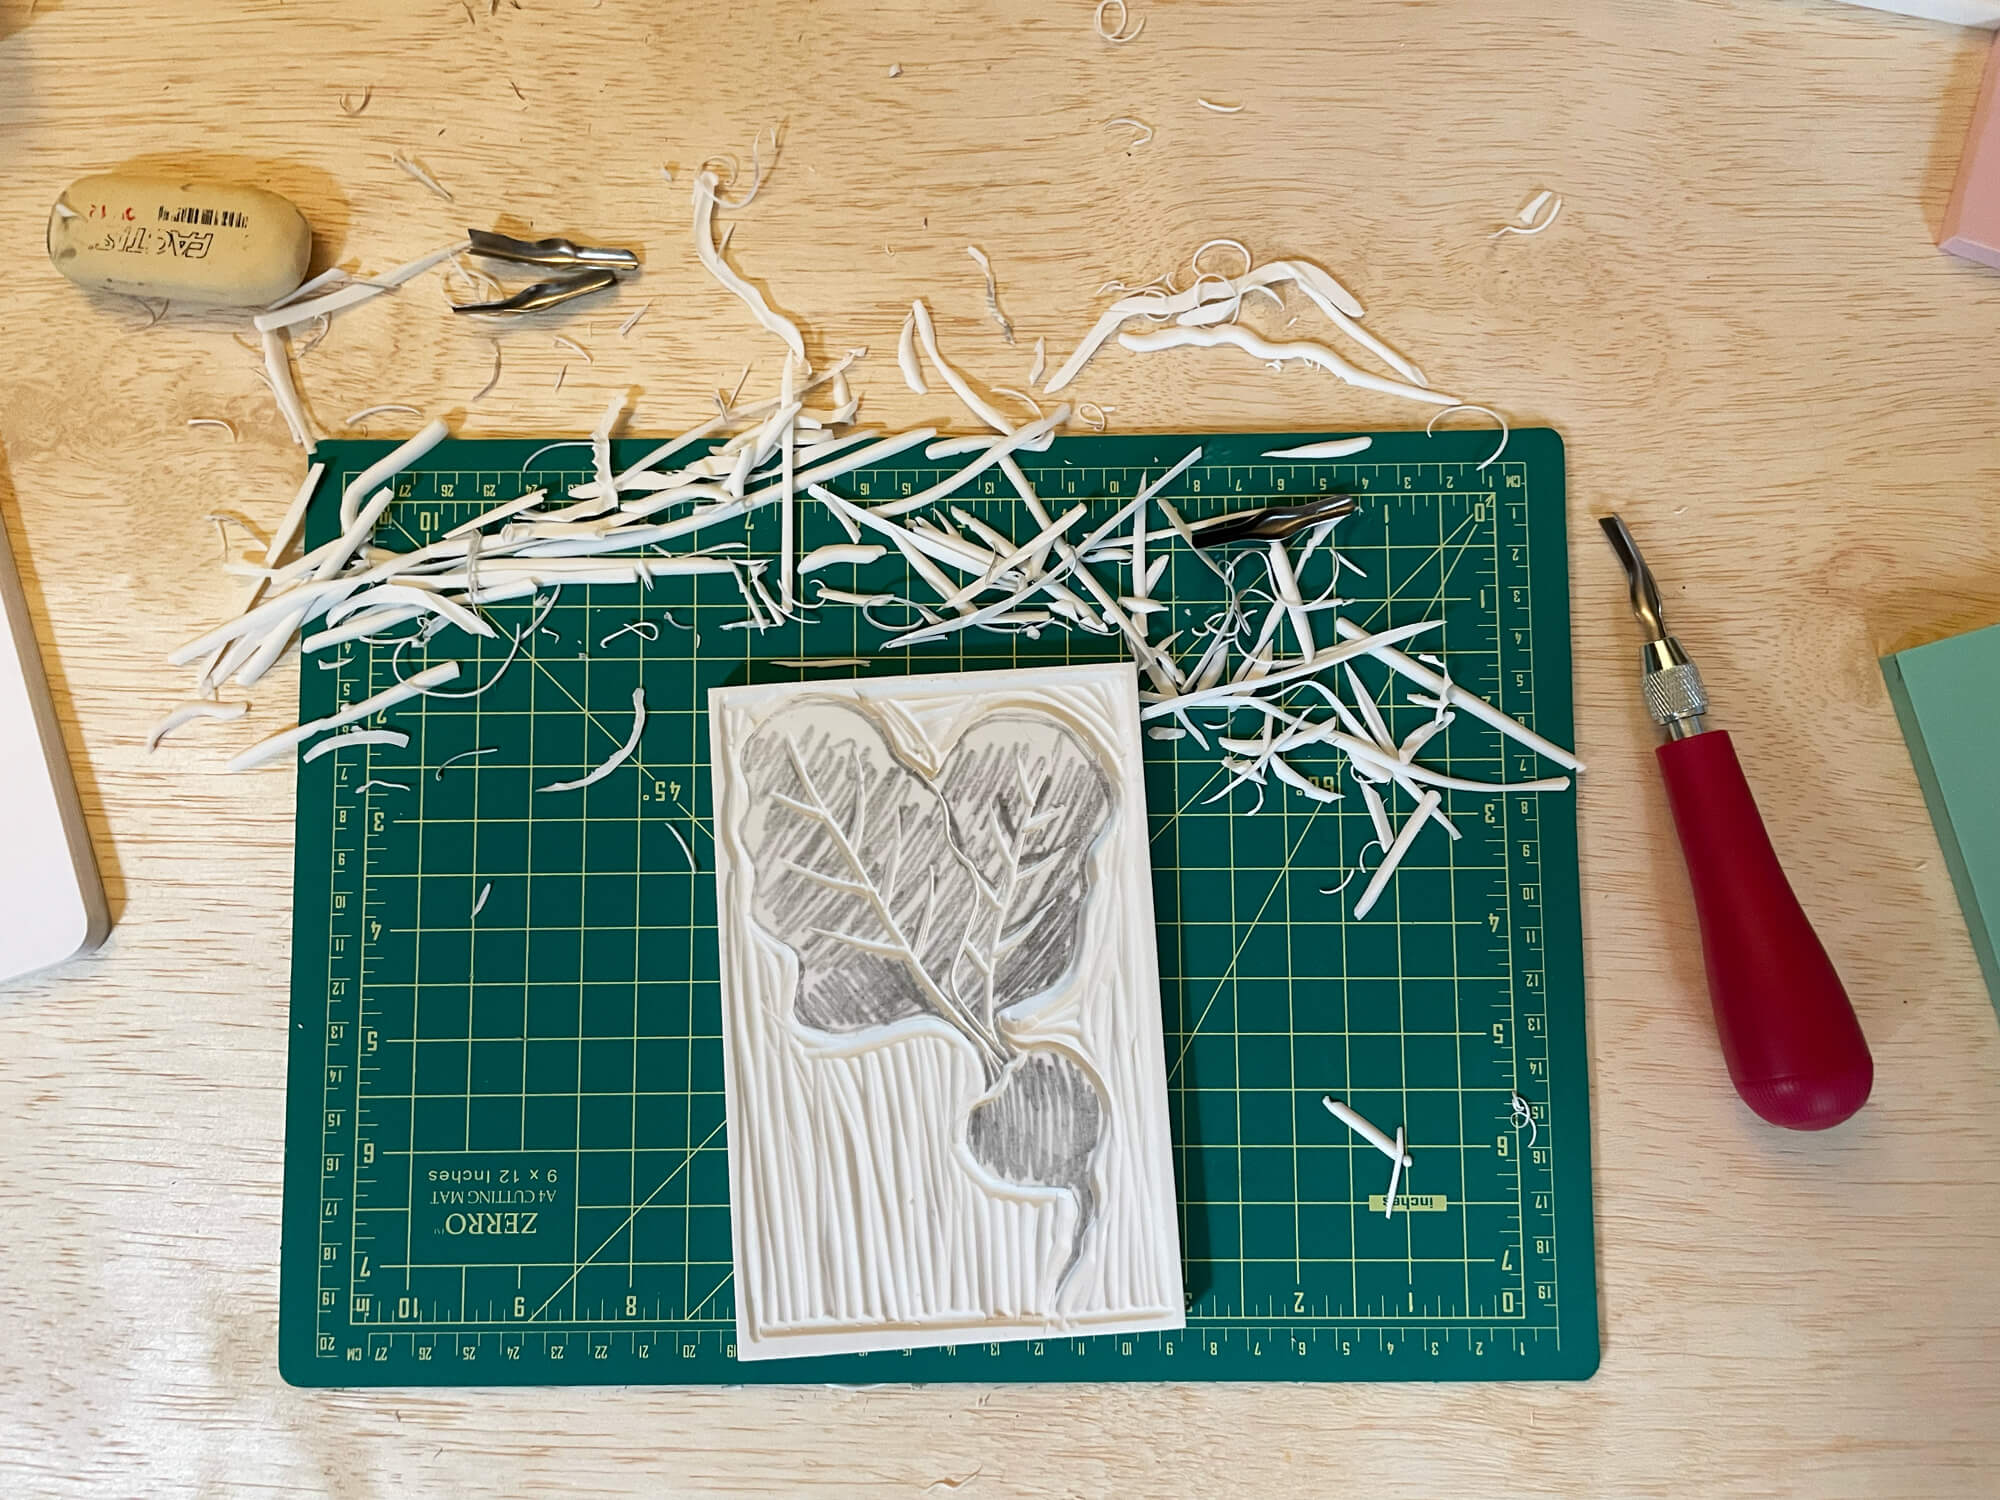
This step was so fun and rewarding to see my sketch starting to come to life. It was almost meditative, slowly carving the linoleum away and figuring out the right pressure and angles to use for my design.

I used some plastic packaging that I had held on to (for this purpose!) and a plastic knife to start rolling my ink out. Dabbing a few blobs of ink onto the plastic, I rolled the brayer back, forth, and side to side to start to get the ink distributed as evenly as I could. I rolled out the ink onto my block!
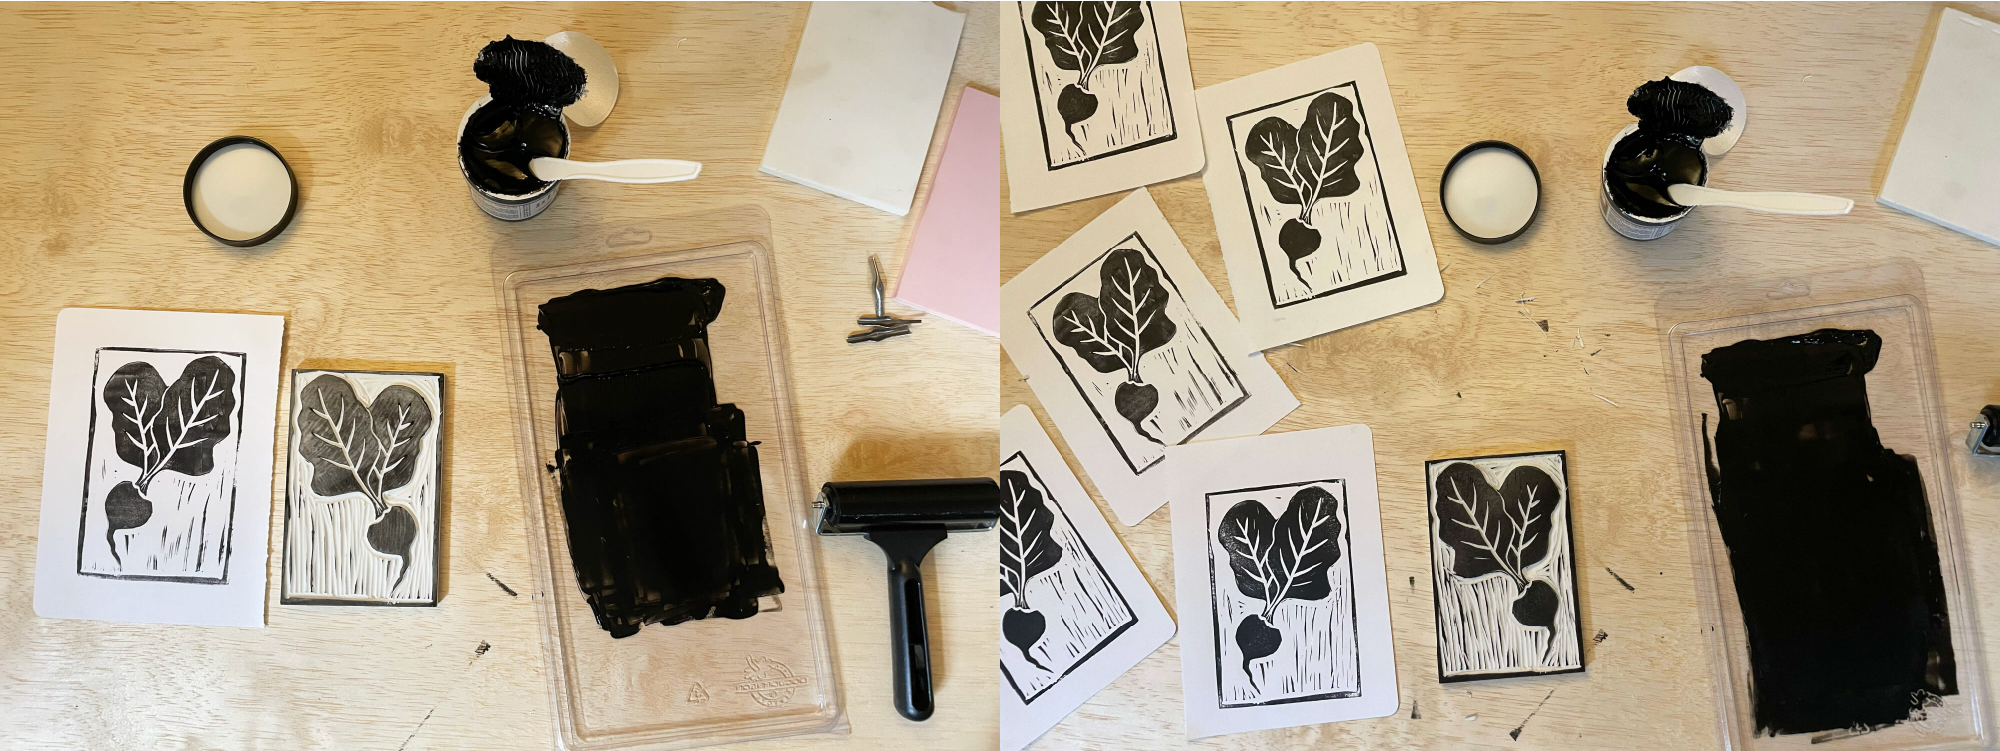
Print! I printed a small handful of images, using different pressures and techniques to transfer the image. I used my hands, a book, and a wooden spoon to rub the paper onto the block to transfer the image. I loved seeing how each print was pulled!
Overall, I loved this project and will absolutely be revisiting it. I found that Block Printing really filled a creative need for me–one where imperfection is embraced and the process is repeatable. Picking a simple design and a one-color print was approachable and following along in a class was a great way to feel less overwhelmed while learning a new process.
Happy printing!
