
GDx — Basket Weaving
- DIY
- GD Team

The GDx experience is inspired by Bill Gates’ annual Think Week. Each GD employee is given a “Thinking Day” — a day away from work to research a subject they are curious about. This is a rare opportunity for self-care, achieved by exploring something new without interruption.
This time, we hear from Brenda about how she got a head start on her spring gardening with a “spring bulb lasagna”.
_____
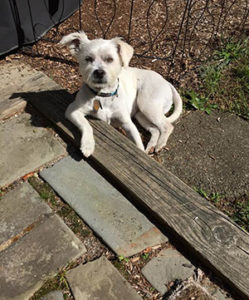
Last year, a bunny family living under my deck feasted on my garden. First, they ate every crocus. The tulips were next. The lilies had no chance. Later in the summer, they got to the allium, hosta plants, and a few “rabbit-resistant” flowers I naively thought they’d avoid.
Every morning, I’d go outside to assess the damage from the night before. Every morning, I’d be heartbroken to find another plant destroyed. No amount of rabbit repellent worked. They weren’t even phased that a predator lived just feet away in our home.
Last fall, I started thinking about using raised planters to avoid the same fate for this year’s spring garden. While surfing online for ideas, I discovered an article about planting a “spring bulb lasagna,” a way to layer bulbs in a pot to produce new plants all spring. After a whirlwind summer of building websites, I was craving some time outdoors, so I decided to try this gardening project for my GDx project.
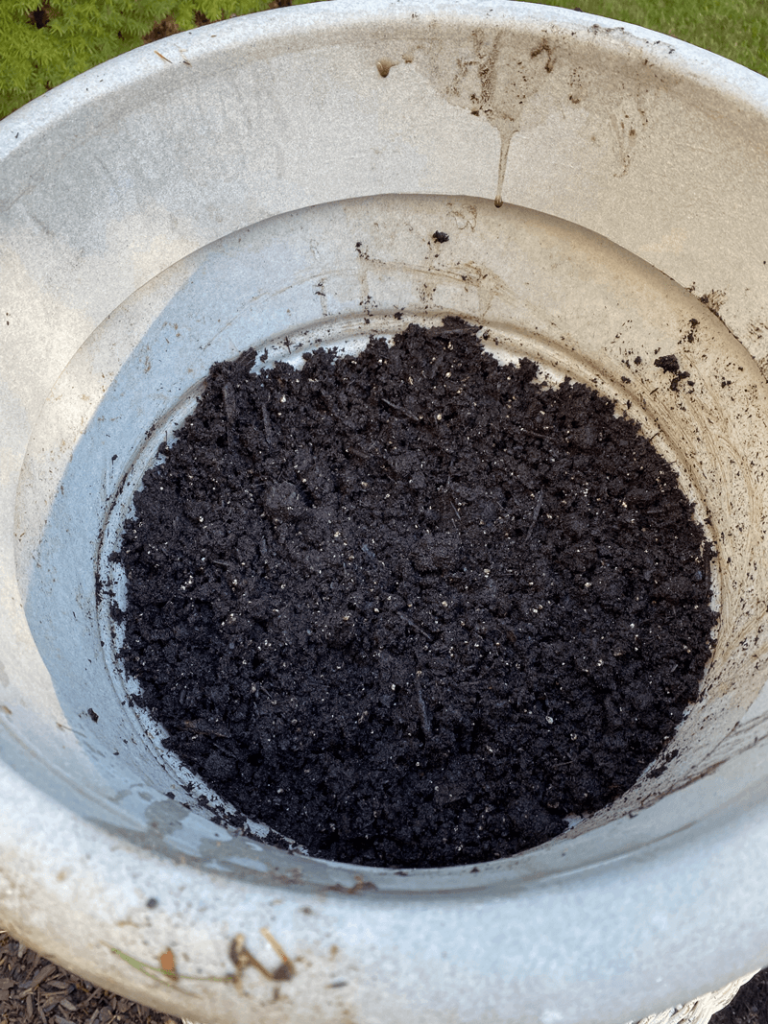
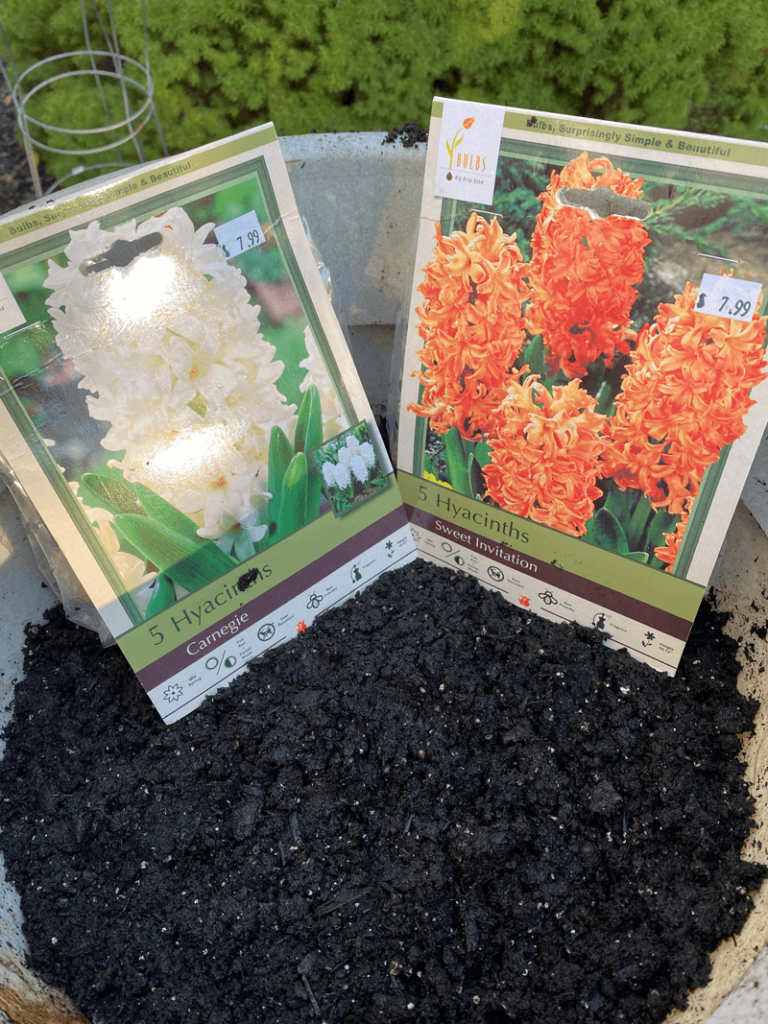
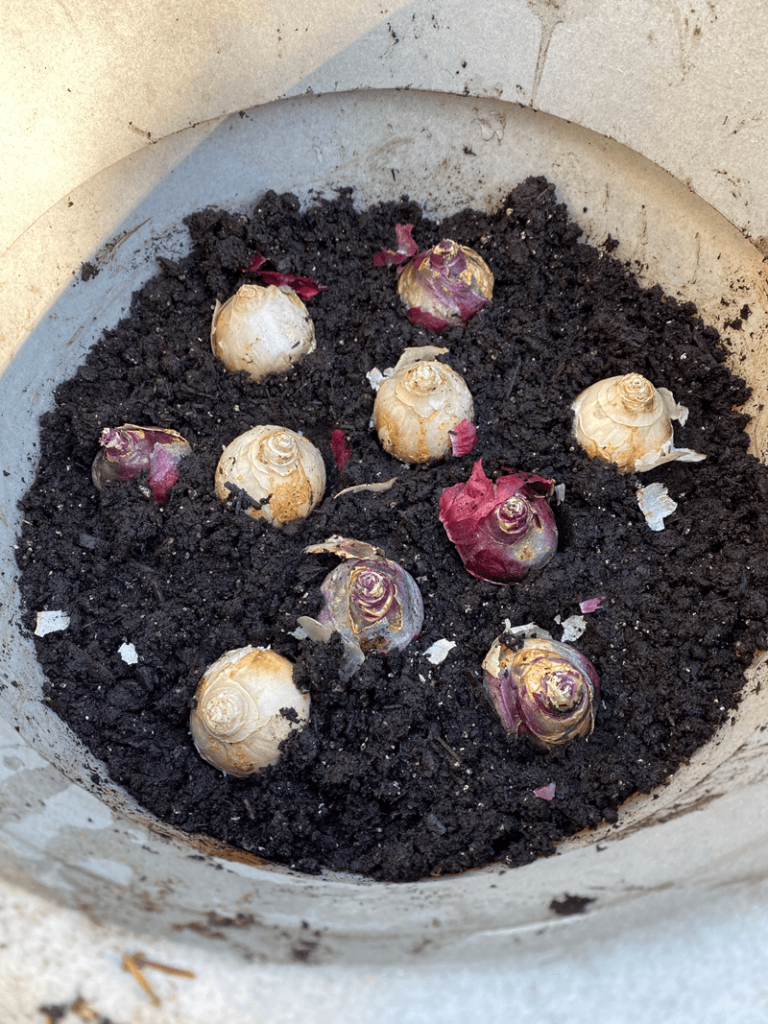
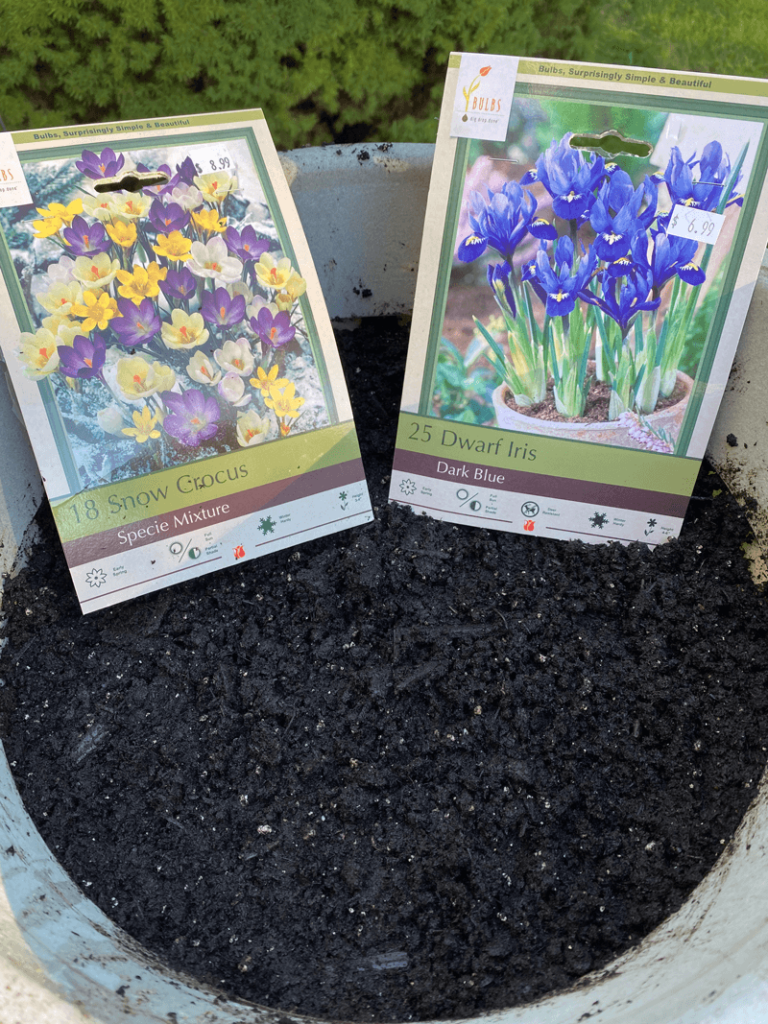
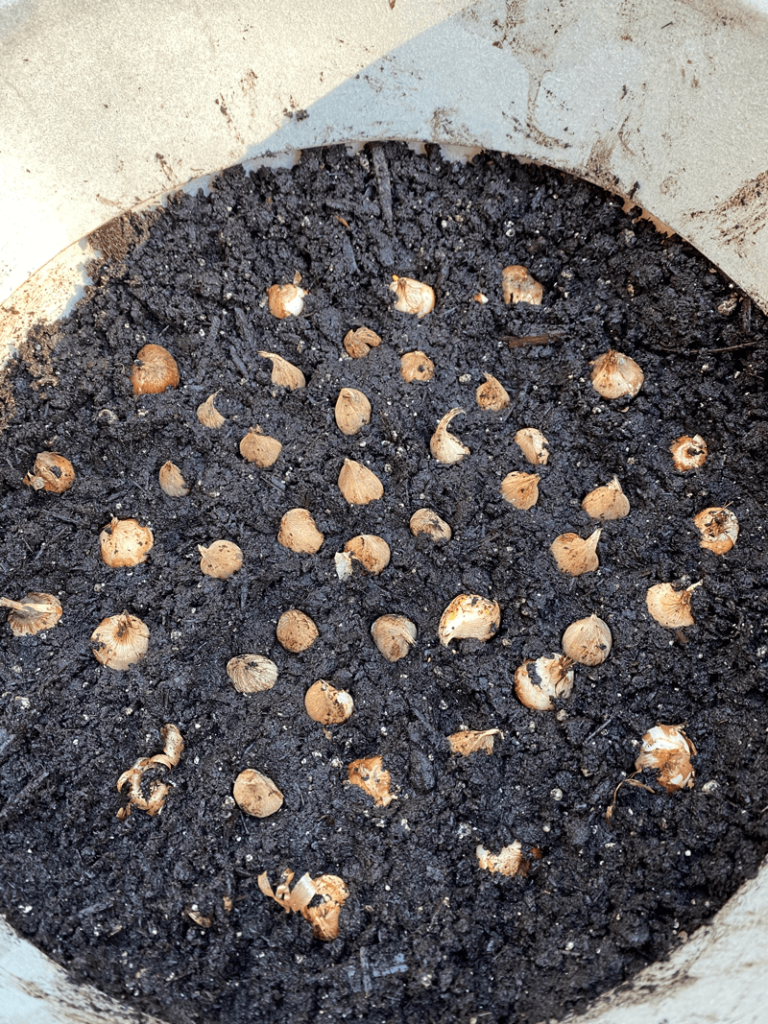
While at our local nursery, I decided what bulbs I wanted to use. The key is to choose a variety of early spring, mid-spring, and late spring bloomers. Once you have all of the materials, it’s a simple process to put it together, just like layering a lasagna! I gathered my gardening gloves and got to work.
Materials:
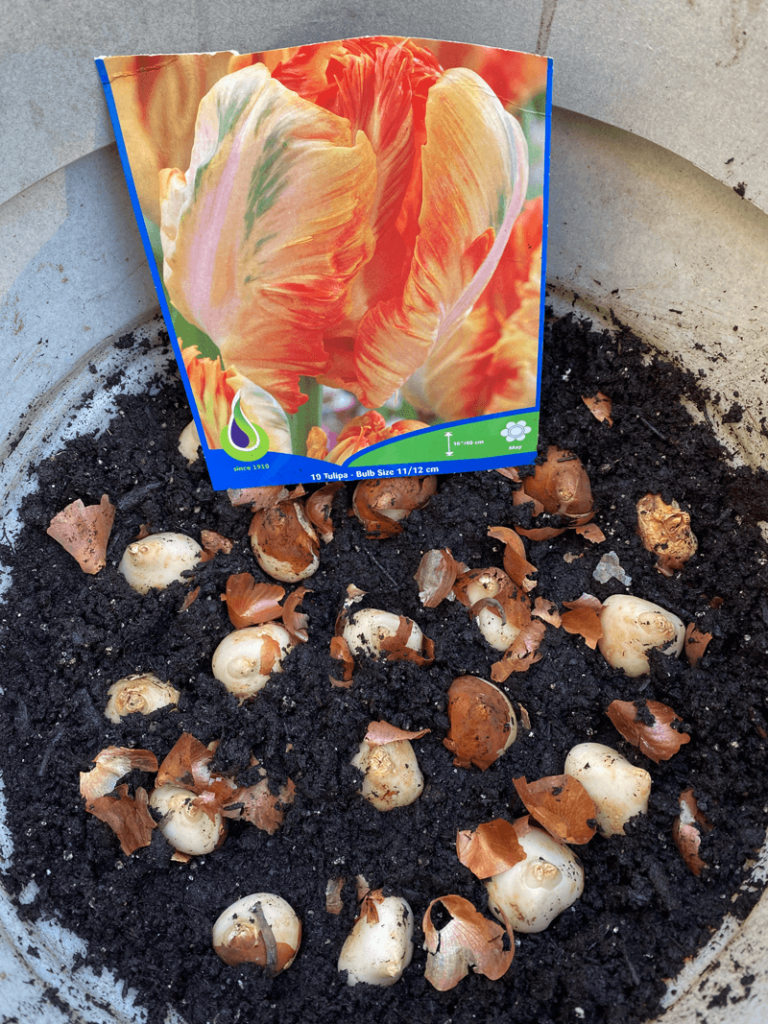
Be sure the pointy end of the bulb is facing up!
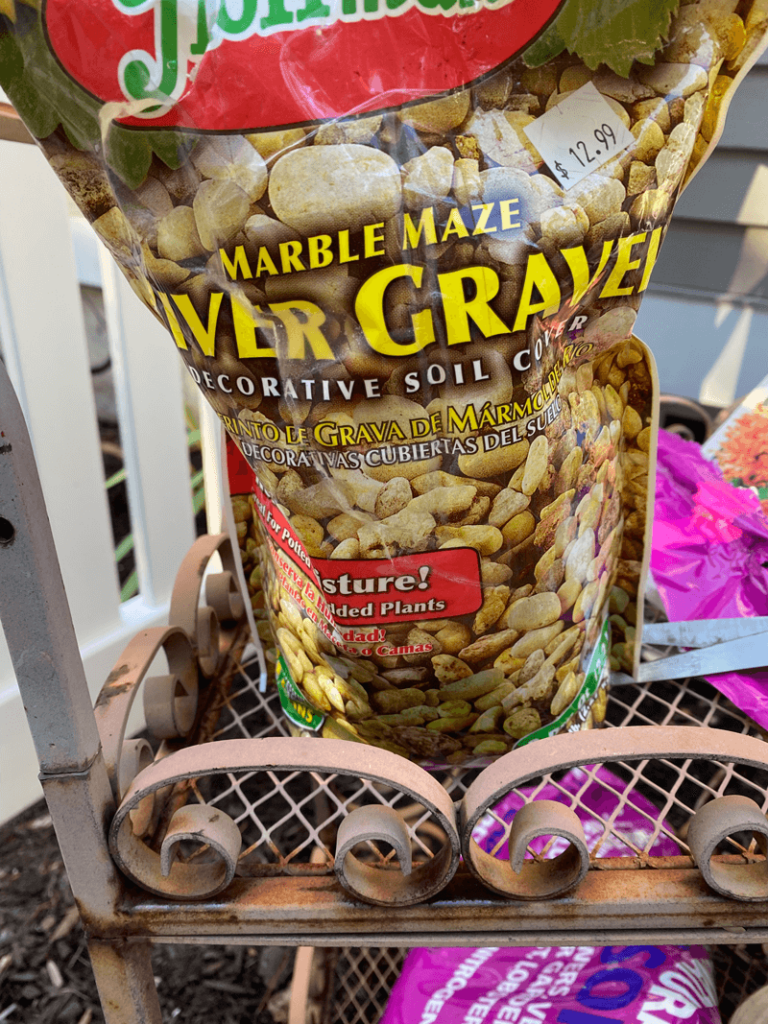
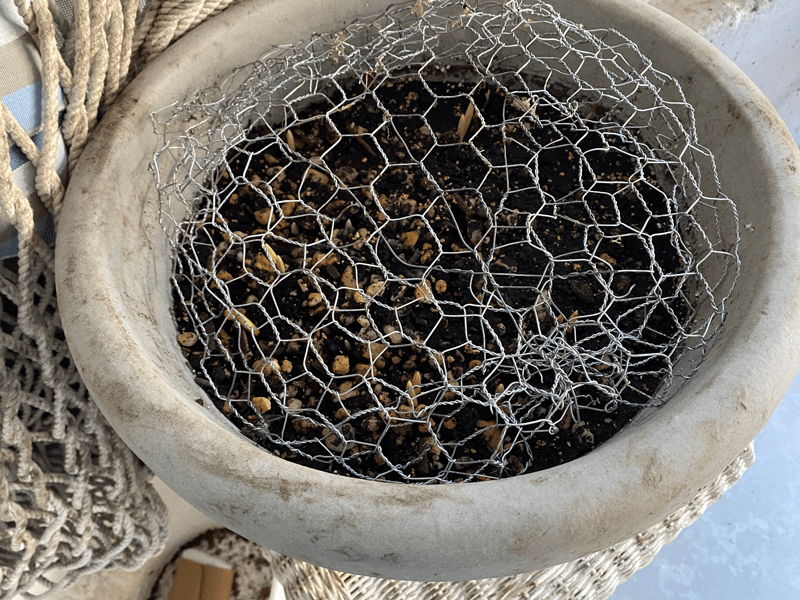
After covering your last layer of bulbs, give the whole thing a generous watering. Then, add a layer of your gravel. This serves several purposes: it keeps the container from drying out in spring, helps keep the potting mix from eroding, and stops weeds from taking root. I gave it a light sprinkling of gravel for fear of smothering it, but I could have used some more. I also chose to mound some chicken wire over the top to prevent critters from trying to burrow into the pot.
Since it gets below freezing in New England during the winter, I put the pot in an unheated garage (a shed or greenhouse would also work) to give the bulbs enough protection until it was warm enough to bring them outside.
In December, I started to see little sprouts coming up from under the layer of gravel. In January, it was clear that the plants were going to bloom a lot earlier than I anticipated.
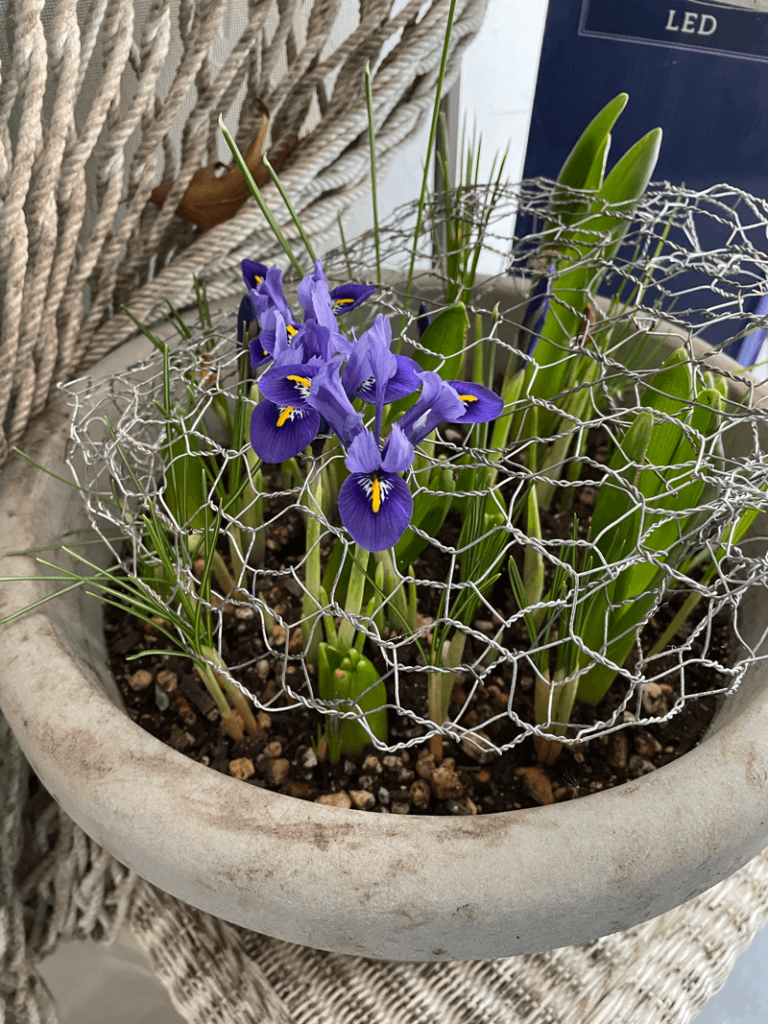
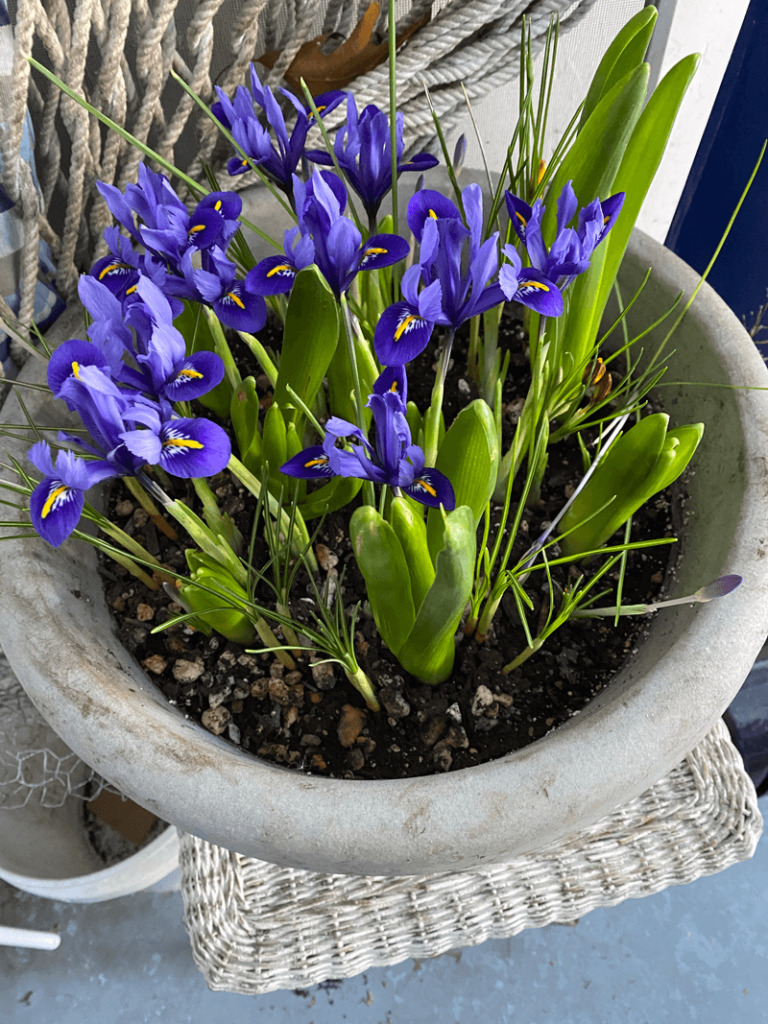
In February, irises sprung up and bloomed quickly, so I removed the chicken wire and moved the pot out to a covered back porch.
In March, after the irises bloomed, the whole thing went haywire, with crocuses and hyacinth blooming almost at the same time. Slow down, hyacinth! What’s your rush?! You weren’t supposed to grow for another month! The pot looks really messy, not unlike if I had actually cooked a real lasagna (I’m a horrible cook!)
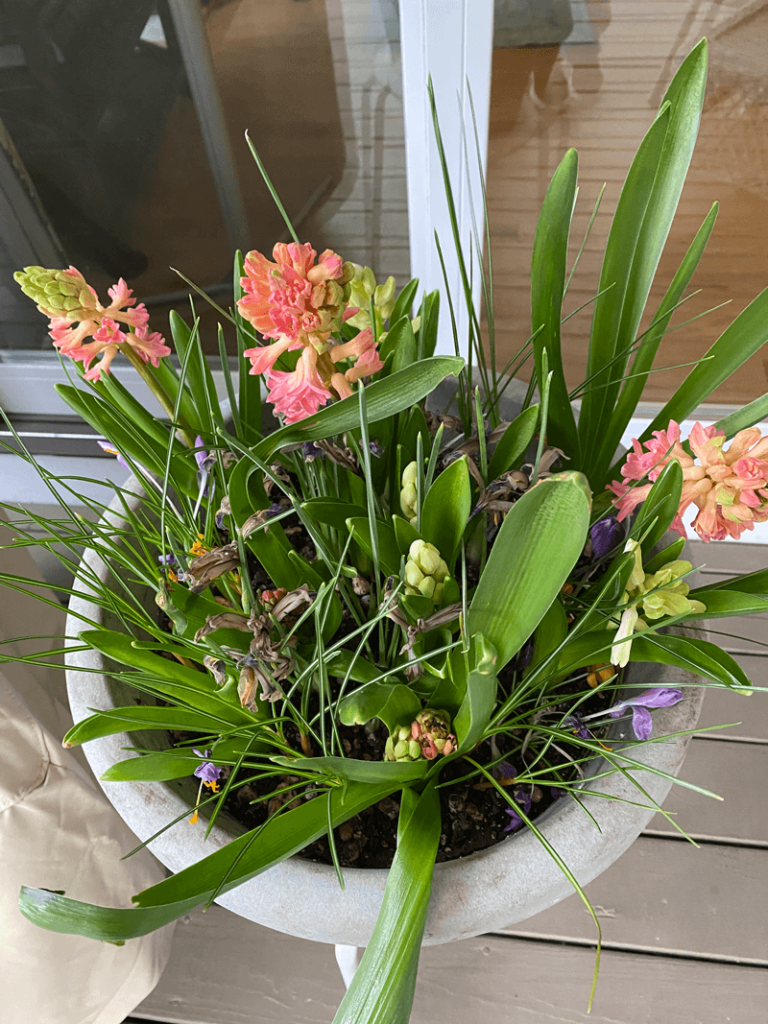
In early April, things started to settle down and the hyacinth took center stage. They were so fragrant.
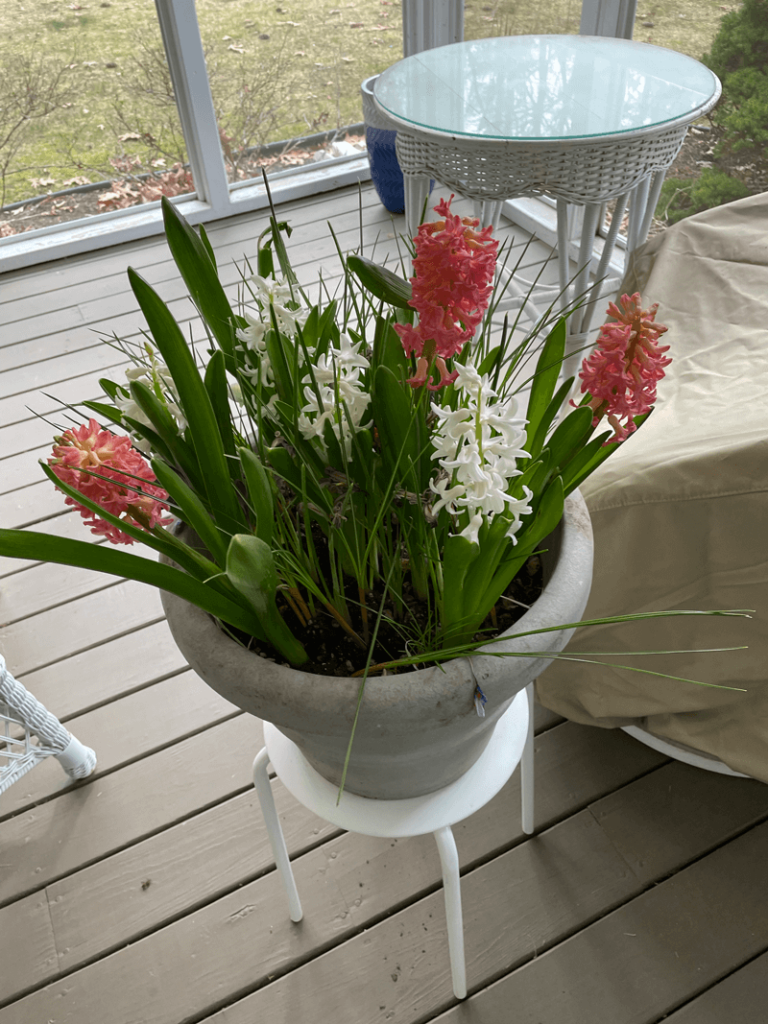
At the time of this post in mid-April, we are still enjoying the hyacinth. It remains to be seen when the tulips will arrive. I’ll update the post if/when that happens!
Even though this project was full of surprises, I will definitely do it again next fall. Once I moved the pot to my back porch, I got to see bright flowers blooming while we were still surrounded by the gray/brown canvas of winter and spring in New England. It may not be a garden full of blooms, but it’s still pretty. As for the jerk bunnies, while the potted flowers remained safe, they once again filled their bellies on the crocuses that popped up in the garden this year. Bunnies 2/Brenda 1.